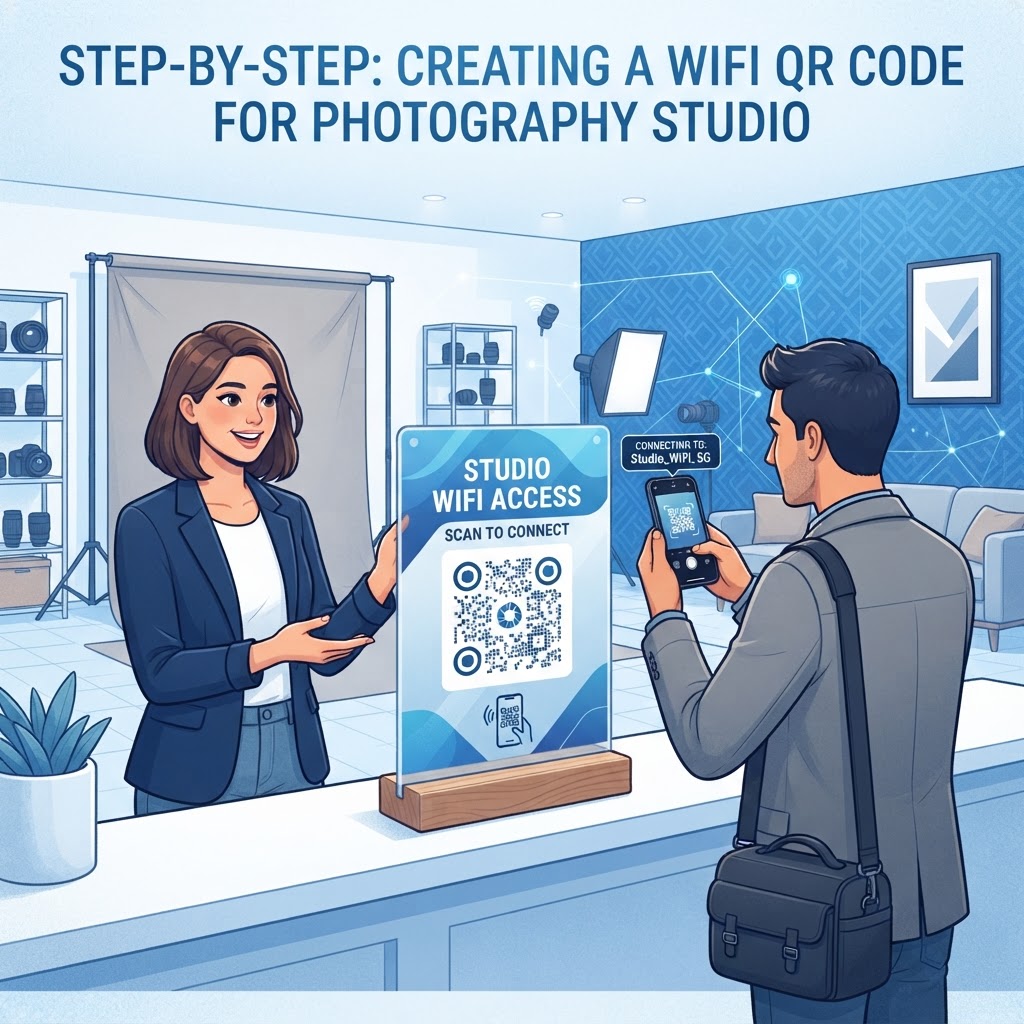
Why a wifi qr code for photography studio connectivity matters
In the high-pressure environment of a professional photography studio, efficiency isn't just a luxury—it’s a requirement for profitability. When you are managing lighting setups, guiding subjects, and coordinating with makeup artists or stylists, the last thing you want is a disruption caused by connectivity issues. A client arriving for a high-stakes headshot session or a gallery review often has an immediate need to upload their favorite selects to Instagram, sync raw images to their own private cloud storage, or share files with their agents. If they are forced to wait for you to track down a handwritten sticky note on your workstation or if they are repeatedly typing in a complex, 20-character password, the professional rhythm of the session is broken.
A dedicated QR code eliminates this administrative friction. It transforms a multi-step, error-prone manual login process into a split-second scan. When you utilize the Blue QR Code Generator, you are not just offering convenience; you are demonstrating that you respect your client’s time and value their experience. A well-designed, functional QR code integrated into your studio’s decor acts as a silent digital concierge. Guests appreciate the autonomy of connecting themselves, and you avoid the "hidden" labor of constant administrative check-ins. By automating this task, you maintain a cleaner, more organized studio environment, free from unsightly scraps of paper taped to your expensive camera equipment or studio monitors. This level of attention to detail communicates to your clients that you run a modern, tech-forward business, which is essential for retaining high-end commercial and editorial talent.
What you need before you start
Precision is the foundation of a functional QR code. Before you log into any generation tool, you must audit your current network infrastructure to ensure the data you provide is accurate. Most connectivity issues reported by users are not flaws in the QR code itself, but rather human error during the data entry phase. Start by accessing your router’s administrative dashboard. You can typically do this by typing the gateway IP address—usually 192.168.1.1 or 10.0.0.1—into your browser’s address bar.
First, verify your Service Set Identifier (SSID). This is the exact network name as it appears in the list of available WiFi signals on your devices. Be hyper-aware of spaces, symbols, and hidden trailing characters. For example, "Studio_WiFi_5G" is fundamentally different from "Studio_WiFi 5G." Second, identify your security protocol. Modern networks generally utilize WPA2-PSK (AES) or WPA3. If you select the wrong protocol in the generator, a smartphone will attempt to connect using the wrong "handshake," and the connection will fail regardless of how accurate your password is. Finally, ensure your password is copy-pasted directly from your router’s settings page. If you are reading it from a label on the back of the hardware, ensure that characters like "0" (zero) and "O" (capital letter O) or "l" (lowercase L) and "I" (uppercase i) are correctly identified. By documenting these parameters in a secure digital notebook before you begin, you ensure that the QR code you create will work perfectly on the very first scan.
How to create your QR code — step by step
- Access the tool: Navigate to our free WiFi QR Code Generator to begin the creation process. Ensure you are using a stable internet connection so that your final image output renders correctly.
- Input network name: Enter your SSID. Verify it against the router dashboard one final time. If your network is hidden (does not broadcast), note that the QR code will still work, but only if the device has previously connected to that SSID or the device is capable of handling hidden network configurations via QR.
- Enter password: Input the password carefully. Ensure that no accidental blank spaces are included at the beginning or end of the string. If your password contains symbols like @, #, or $, confirm they are supported by the generator’s encoding format.
- Select security protocol: Choose the correct encryption type. If you are unsure, select WPA/WPA2, as this is the industry standard for 99% of home and commercial routers today.
- Customization: Match the QR code to your studio’s brand. Many photographers choose to add their logo in the center of the QR code or adjust the frame colors to align with their brand identity. Use a high-contrast foreground color, such as black or deep navy, against a pure white background to ensure optimal scanability.
- Generate and Download: Click the generation button. Once the preview appears, download the file in a vector format (like SVG) if you intend to print it on large signage, or a high-resolution PNG (at least 300 DPI) for smaller print materials like business cards or client info cards.
How to test and deploy it
Testing is a multi-phase endeavor that should never be skipped. Start with "Device Diversity Testing." A code that works on an iPhone 15 might fail on an older Android device if the security protocol is outdated. Test your final output using at least two different mobile operating systems and, if possible, a tablet. Your goal is to ensure the "Join Network" prompt appears within two seconds of the camera shutter focusing on the code. If the connection prompts for an additional password entry after scanning, you have likely chosen the wrong encryption type or entered a character incorrectly.
Once you have validated the functionality across multiple devices, move to the deployment phase. Strategic placement is key to utility. Do not simply tape a piece of paper to the wall. For a professional photography studio, consider mounting the QR code in a minimalist acrylic sign holder at your reception desk. If you shoot on-location or in a shared creative space, print the QR code on small, high-quality stickers to be applied to the back of your business cards. This provides a "portable" connection for clients who may visit your secondary locations. Another sophisticated option is to incorporate the QR code into your digital welcome presentation displayed on a monitor in your studio’s waiting area. Use a high-contrast design that stands out against your studio’s color palette. Remember, if you use a high-gloss finish for your printed materials, ensure the lighting in the studio doesn't cause a glare reflection directly over the QR code, which would effectively "blind" the guest's phone camera.
Common mistakes that ruin results
- Case sensitivity errors: This remains the number one point of failure. WiFi protocols are binary; if the SSID in the code is "StudioWiFi" and the router is "studiowifi," the handshake will be rejected instantly by the network controller.
- Poor contrast levels: While aesthetic branding is important, the primary function of a QR code is readability. Using a light grey or gold QR code on a white background reduces the "readability index" for mobile scanners. Stick to high-contrast colors: black on white, dark blue on white, or black on cream.
- Obscuring the code: Placing the code behind low-quality, thick glass or glare-prone laminates creates a "refraction blur." If the light reflects off the laminate, the QR scanner will struggle to identify the square modules. Use matte-finish prints or anti-glare glass frames to ensure the scanner can resolve the code clearly.
- Ignoring network isolation: This is a critical security failure. Never share your primary studio network—the one connected to your main NAS, file servers, or printers—with guests. Ensure you have a guest network enabled on your router. A guest network provides "client isolation," meaning visitors can reach the internet but cannot "see" your other connected studio devices. Using a QR code for a non-isolated network is a security vulnerability that could leave your client data exposed.
- Size degradation: Printing the QR code too small (less than 1 inch x 1 inch) can cause the scanner to fail, especially if the user is standing more than a few feet away. Ensure the printed version is at least 1.5 inches square to account for varying camera qualities.
Real examples
Consider the logistical impact on a high-volume portrait studio. If you operate a space that hosts "mini-sessions" every Saturday, you might be dealing with 10 to 20 clients rotating through your studio in a single day. If each client stops to ask for the WiFi password, that is a cumulative loss of nearly an hour of productive time for your front-of-house staff or assistant. By placing a professionally designed QR code on the sign-in clipboard or a sign-up sheet, you empower the client to handle the connection themselves the moment they arrive. They hop onto your secure guest network while they are waiting, perhaps browsing their digital contracts or signing releases, effectively turning "waiting time" into "productive time."
A second, more technical scenario involves a high-end commercial production studio that hosts changing crews throughout the month. When a video production team arrives for a full-day shoot, they need access to high-speed internet to upload daily footage to remote editors. Instead of giving them your permanent studio password—which you would then have to change as soon as they leave to maintain security—you can use the Blue QR Code Generator to create a temporary, time-limited WiFi access point or a guest network that you can rotate monthly. By printing a fresh QR code on a "Welcome to the Studio" production sheet, you provide the crew with immediate, friction-free access. This is the difference between a studio that feels like a shared workspace and one that operates like a professional enterprise. It shows that you understand the logistical requirements of modern digital production workflows, and it creates a sense of confidence in your brand that encourages repeat bookings. When you simplify the digital experience for your clients, they are much more likely to remember your studio as a place where business flows effortlessly.
Finally, think about the impact on your studio's social proof. When clients can seamlessly connect and immediately upload a "behind-the-scenes" photo from your studio to their social media accounts, you get free marketing. If the connection process is difficult or if they have to wait for your attention, they are less likely to post. By making the WiFi access invisible and instantaneous through the QR code, you encourage your clients to document their experience in your studio, increasing your online visibility and reputation without any additional effort on your part. It is a subtle but powerful growth tactic that integrates perfectly into the daily operations of any modern photographer.